First upholstry project/tutorial

Well, technically this is my second.  But I don't count the first because it was very simple. I recovered some dining room chairs several years ago, just took a bunch of stapling.
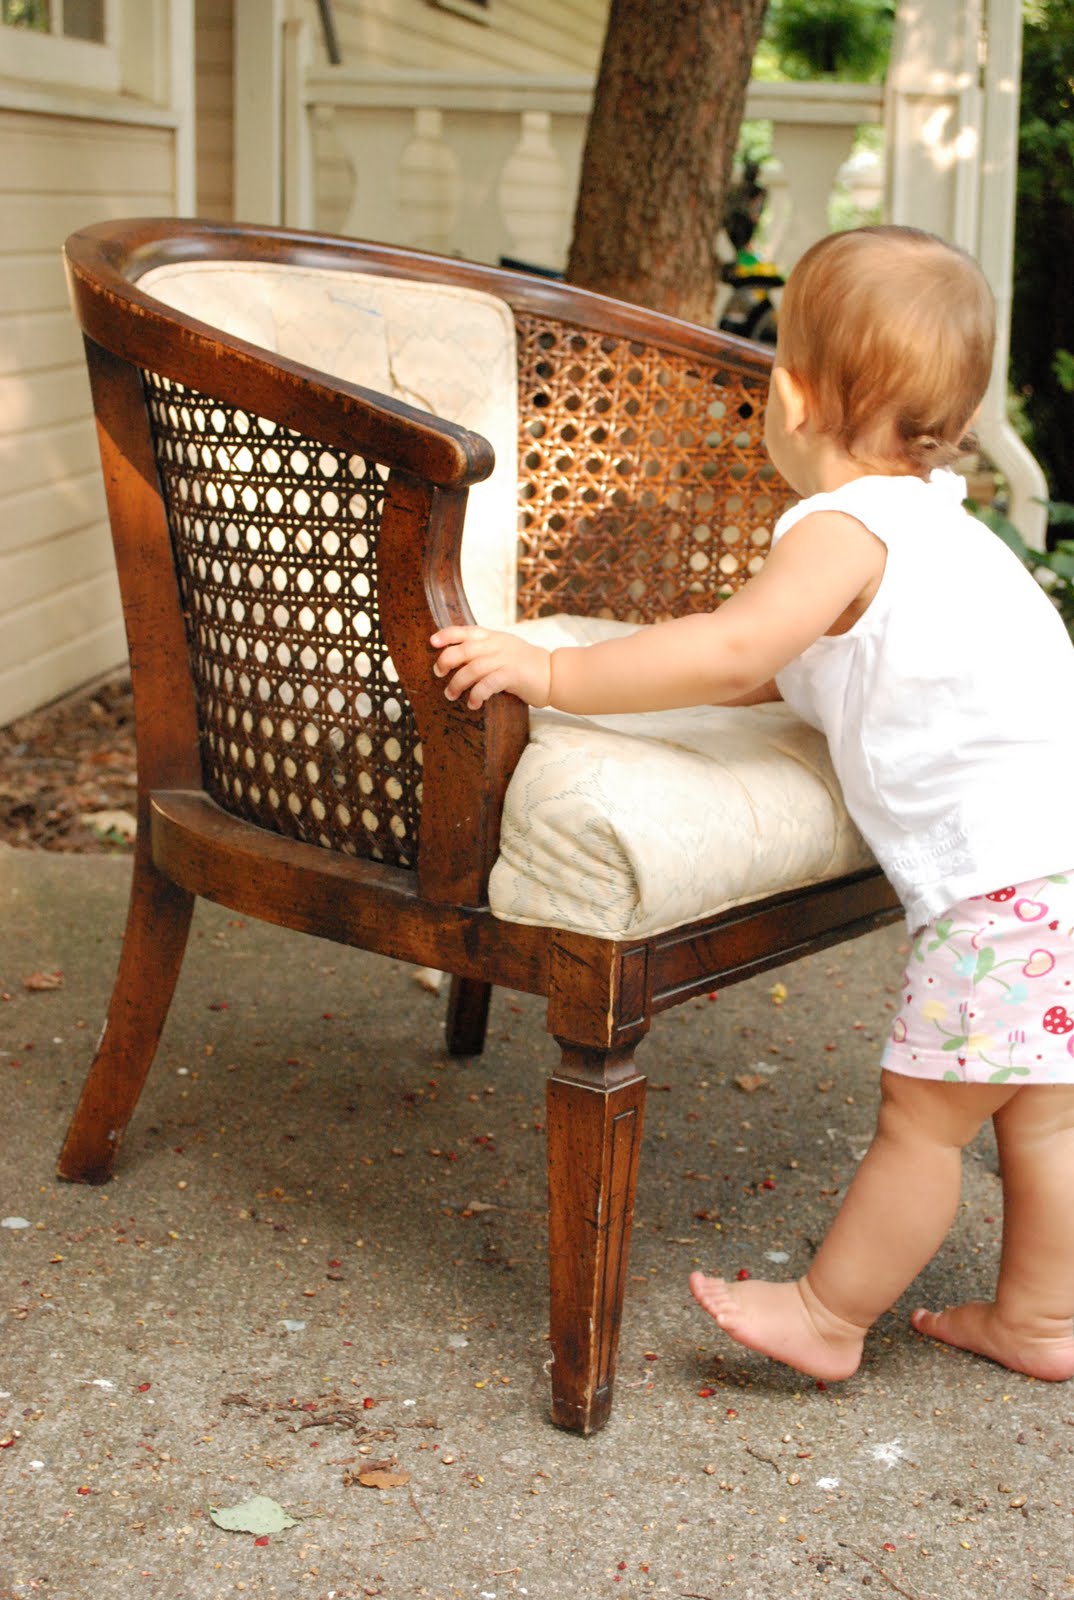
This chair however was a little more complicated.  I will try my best to take you through the steps.  But if you are considering doing this, just jump in.  Go with a cheap chair, so if you mess up a little it will be okay. 
First of all I took a ton of pictures before I started so I could go back and see exactly how it was set up.


I took the entire chair apart and spray painted it white


Once the paint was dry on the chair, I began putting the fabric on the back.
This part was a little difficult, because it had to be just the right size.  I used the old piece of fabric as a template, I laid it out on the new fabric and cut around it.  You must pull the fabric taut as you staple.  It was hard to get the pattern to line up straight.
After this was on tight, the layers of cushion went on top of it.  The cusion and batting were in good shape so I re-used them.


The back was not very difficult to put on, once again I used the old fabric to measure for the new fabric.
Staple back on, just like it was with the old fabric.  This is why it's a good idea to take a lot of pics so you can see exaclty how it was set up in the first place.

You must pull the fabric as you go, so it stays nice and tight.
You don't want loosey goosey fabric on your chair.
If you mess up, it's okay just pull out the stapels and start again.  I had to do this a couple times.

Next came the seat cushion, sorry I forgot to take a pic of this one, but it was the easiest part.  Just line up the fabric with old cushion fabric cut around it, in order to get the same shape. Cut it out and lay it over the cushion.Curve it under the cushion and staple to the bottom, many, many times. Pulling it taught as you go.
This chair had screws in the bottom in order for me to get the seat out, when it was time to put it back on however the screws didn't line up with the old holes.  After much fighting with the chair, I ended up drilling a new hole for it.

I chose to add trim, because I'm not familiar with cording.  I took the easy way out, I hot glued some trim around the rough edges.  I also didn't attempt to but tufting back, again I took the easy way.


This really is not as hard as it looks. If you want to try it out for the first time, I recommend doing a chiar like this.  Avoid a chair with a lot of fabric and intricate details.  You may end up frustrated and giving up.  But I assure you, if I can do this so can you!
If you have any questions, I would be happy to try and answer them for you.  Keep in mind this was my first try, I may not know all the correct terminalogy for reupholstry.

The chair!

Here it is folks, my first attempt at this re-upholstery business.  It wasn't has hard as I imagined it to be.  Mostly just physically demanding.  My back was very sore from pulling so hard at the staples.  But over all it is just common sense.  Just put new fabric where ever the old fabric was.  I will be giving a full tutorial soon, maybe tomorrow.  Without further ado....


A lovely place to sit and read

Details of the fabric and trim
I wasn't about to try the tufting or the piping.  Since this was my first time, I wanted to keep it simple .

Overall, I'm happy with the result.  I will try this again!  Here's how I did it...

Link parties...
Visit thecsiproject.com

Some like it white

Usually I don't paint pieces all white, but I tried a light blue-gray on this piece and it just wasn't cutting it.  So I went over it with a simple off white.  It needed to be prettied up, and only white can make something crisp and clean.  I really love this side table, it has depth and would hold many items if used as a bedside table.
The origianl hardware was pretty and elegant, so it got a dose of oil rubbed bronze. (My new fav).

A light distressing
Simple and quaint, I may pair it with my new chair.
Link parties
http://missmustardseed.blogspot.com/2010/10/furniture-feature-friday-favorites-link.html
http://www.fingerprintsonthefridge.com/2010/10/feature-yourself-friday.html
http://www.remodelaholic.com/2010/10/remodelaholics-anonymous-41-blog-link.html

Inspiration

Most of my inspiration comes from all over, magazines, blogs, antique stores, and countless others. But today I've been especially inspired by Erin over at House of Turquoise.  She has such an eye for design and posts the most beautiful spaces.  Here are photos of some pieces that I may want to duplicate in the near future.
Like this desk in the background, I love it!

And this side board

And how about this cool chippy bench

 Love the dresser in the back and that coffee table!

Okay, that does it, I'm painting the next piece for my house some shade of turquoise!
How about you, were does you inspiration come from?

Lovely in green

As promised here is the ginormous piece I have been working on this week.  This was a fun dresser, lots of little details and I love the color I mixed.  It's kind of a green/gray color mixed from various paints I had laying around.
Here is the before
After


I used some old hardware from another piece, and spray painted it oil rubbed bronze.  Sanded and stained the top dark walnut.  Distressed the edges and rubbed in a dark glaze. 
So there you have it, my hard work for all to see.  I hope you enjoy it!
Linking up to~
http://bec4-beyondthepicketfence.blogspot.com/2010/09/project-4-and-under-100-linky-party.html
http://www.somewhatsimple.com/2010/09/sys-blog-link-party-with-everyday.html
http://decormamma.blogspot.com/2010/09/frugalicious-friday-giveawaylittle-posh.html

http://www.justagirlblog.com/2010/09/show-and-share-day_24.html
http://simplydesigning.blogspot.com/2010/09/link-party_24.html
http://shabbynest.blogspot.com/2010/09/frugal-friday_23.html
http://www.fingerprintsonthefridge.com/2010/09/feature-yourself-friday_23.html
http://www.remodelaholic.com/2010/09/remodelaholics-anonymous-38-blog-link.html
http://romantichome.blogspot.com/2010/09/show-and-tell-friday-and-im-50.html
http://frenchcountrycottage.blogspot.com/2010/09/feathered-nest-friday.html
http://www.perfectlyimperfectblog.com/2010/09/style-feature-saturday-and-favorites.html
http://primitiveandproper.blogspot.com/2010/09/piece-of-work-wednesday-link-party_28.html
http://www.domestically-speaking.com/2010/09/39th-power-of-paint-party.html
http://www.bluecricketdesign.net/2010/09/show-and-tell-get-your-link-on.html
Perfectly Imperfect
Visit thecsiproject.com

Helpful tip: Keeping hardware organized

I'm so close to being finished with my large dresser.  In the mean time I would like to show you a helpful tip I learned.  One of the reasons this piece was so difficult, was because I took all the hardware off and just threw it in a bag.  Then when it was time to put everything back on, I was unable to find which screw/hinge went where.  There were different sizes that fit in certain places.  I didn't realize that until I had lost all hope at ever getting it back the way it was.  So I vowed to myself to never to let that happen again.
So I came up with my own system.
When I take off a hinge, I label it with a number and put the corresponding screws wrapped in tape and label it with the same number.  Then I label the place where the hinge goes on the piece.
Like so...
This way, when it's time to put them all back on I know exactly where each one originally was. Because sometimes you have different shaped screws, and this helpful tip will eliminate the frustration of figuring out where each one goes.


On another note, look what I just found this morning in my neighbors trash!
 I love the shape of the frame, not sure what I will do with it yet.  But some spray paint may be in order :)


Progress

I'm working on several different pieces right now, and currently taking a break.  The paint is drying on this piece right now
It's looking very pretty, I can't wait to show it off to you all sometime this week.  I have to find some new hardware, because several of the the drawers had old electrical wire to open them!  Talk about DIY, who knew you could cut up some old lamp wire and use it as a pull.

I'm really looking forward to getting started on this chair
But it will have to wait, until I can use my 50% off coupon to get some new fabric.
I also have another side table in the works, it's been primed for about 2 weeks now, I just can't seem to settle on a color for it.
Decisions, decisions....


Meant to be


 I think the universe is trying to tell me something.  Just after I had posted this  on Wednesday, I found a chair over at my local Goodwill.  I had always been on the look out for these types of chairs and never seen one until now.
It was a little more than I usually spend on a thrift store piece, so initially I walked out of the store without purchasing this little beaut. 
 But after I got home, I couldn't stop thinking about it. I believed it was the universes way of telling me I was ready to attempt re-upholstery.  So I packed up my little one early this morning and arrived just as the store was opening.  It was right where I had left it, just waiting for me take it home.
I love the tufting, is that what it's called? Anyway I really want to try this!  The fabric is less than desirable, so a trip to the fabric store is in my near future.
Wish me luck folks! 
Hope you all have a fantabulous weekend :)

Thanks!

I just wanted to give a big THANK YOU to all of you out there looking at my blog and starting to follow it.  It has been so much fun refinishing furniture and posting it for the world to see.  I've had visitors from all over the world checking out my blog, and it makes me feel so good to know that I've inspired someone halfway around the world.  There have been many of you who have inspired me as well, to name a few...
Marion over at Miss Mustard Seed
Holly over at Life in the Fun Lane

Cassie at Primitive and Proper
Kate at Centsational Girl

There are so many more, but these are my go to blogs when I need inspiration.  So I hope you hop on over to these if you haven't already.  Thanks again and here is a sneak peek at what I'm working on next!
She's a monster so it may take a while for the reveal :)
I'm so excited to see how it will turn out.